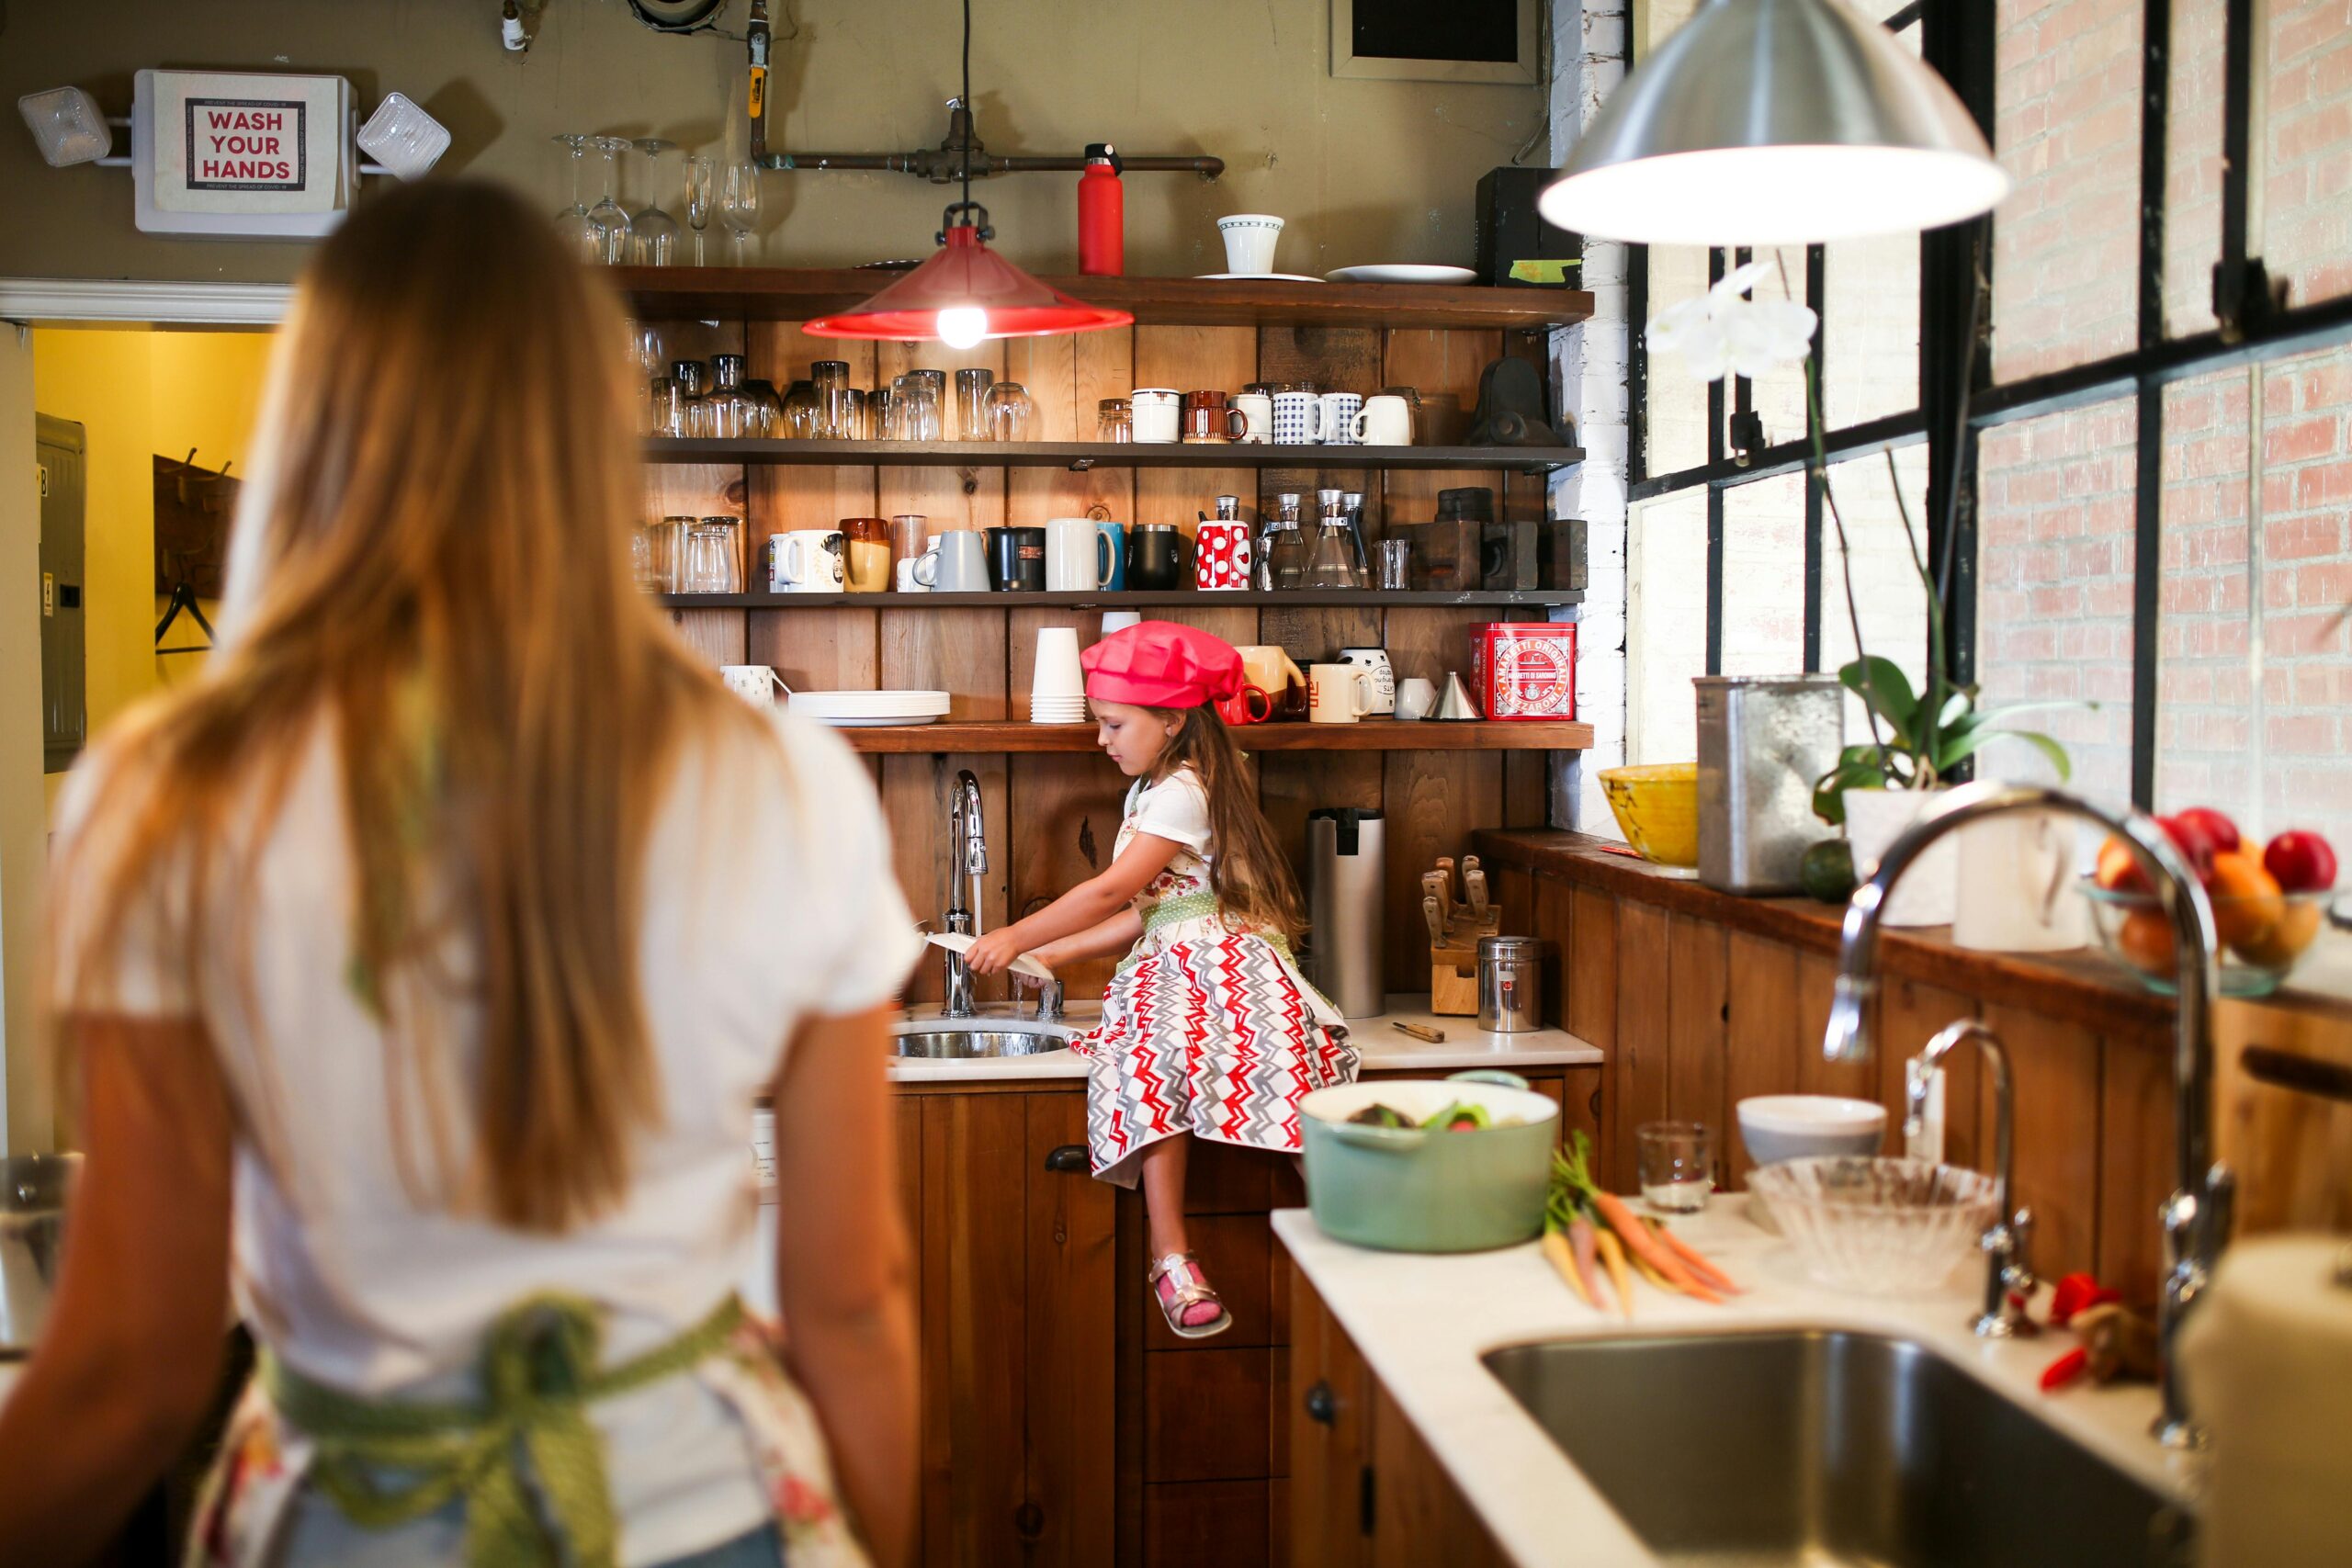
8 Easy Ways For Kitchen Updates (Budget-Friendly + Fast)
A full kitchen renovation can be expensive and disruptive. The good news: you don’t need to gut your space to get a fresher, more modern kitchen. With a few targeted updates—many you can do over a weekend—you can boost function, style, and even resale value. Below are 8 easy kitchen updates that deliver a big visual and practical payoff without a big budget.
Quick overview: what you’ll get from this post
- Practical, realistic updates you can do yourself or with minimal help.
- Time and cost estimates (low, medium).
- Picture suggestions so you know what to take or search for.
- Resources and external links for step-by-step guides and product ideas.
1. Swap out cabinet hardware (handles & knobs)
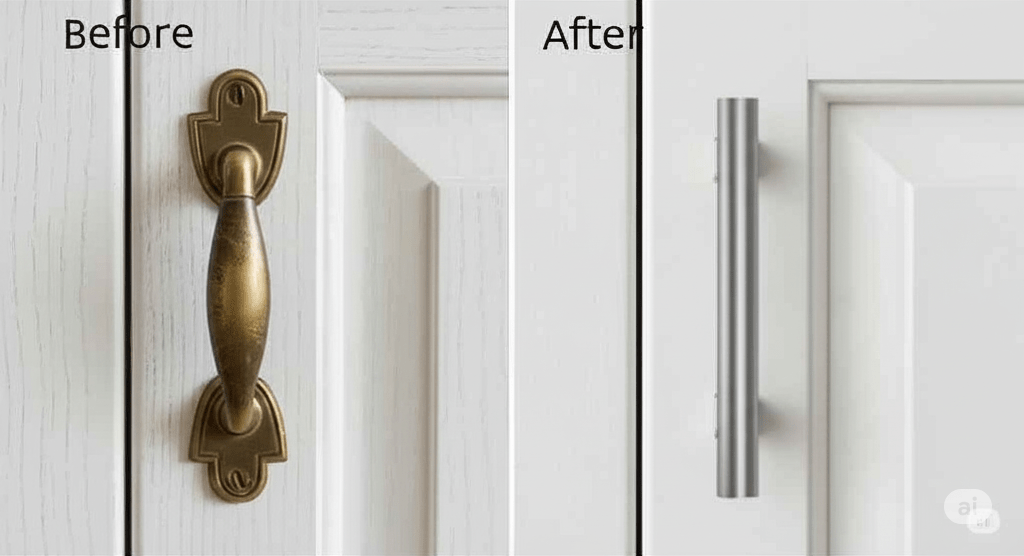
Why it works: Small details anchor a kitchen’s look. Modern hardware instantly modernizes cupboards and drawers.
Time: 1–3 hours for a full kitchen.
Cost: Low — typically \$2–\$15 per knob, \$5–\$40 per pull.
How to do it:
- Measure current hole spacing (center-to-center).
- Buy matching hardware (same spacing or use fillers if changing spacing).
- Remove old hardware, align new, and screw in.
Tips: Choose finishes that match your faucet or light fixtures (brushed nickel, matte black, brass). Replace in full sets for consistency.
2. Paint or refinish cabinet doors (or just the island)
Why it works: Painting transforms the feel of the whole room — white brightens, deep navy adds drama.
Time: 1–3 weekends (depending on drying & number of doors).
Cost: Low–medium — paint and supplies \$50–\$300; professional help adds cost.
How to do it:
- Remove doors and hardware, sand lightly, use primer, then 1–2 topcoats of durable paint (acrylic enamel or cabinet-specific paint).
- For a faster refresh, paint only the island or lower cabinets and keep uppers neutral.
Tips: Use a degreaser before sanding. For a smooth finish, use a foam roller and a fine brush for edges.
This Old House has step-by-step cabinet painting & prep guides.
3. Update lighting — layers & focal fixtures
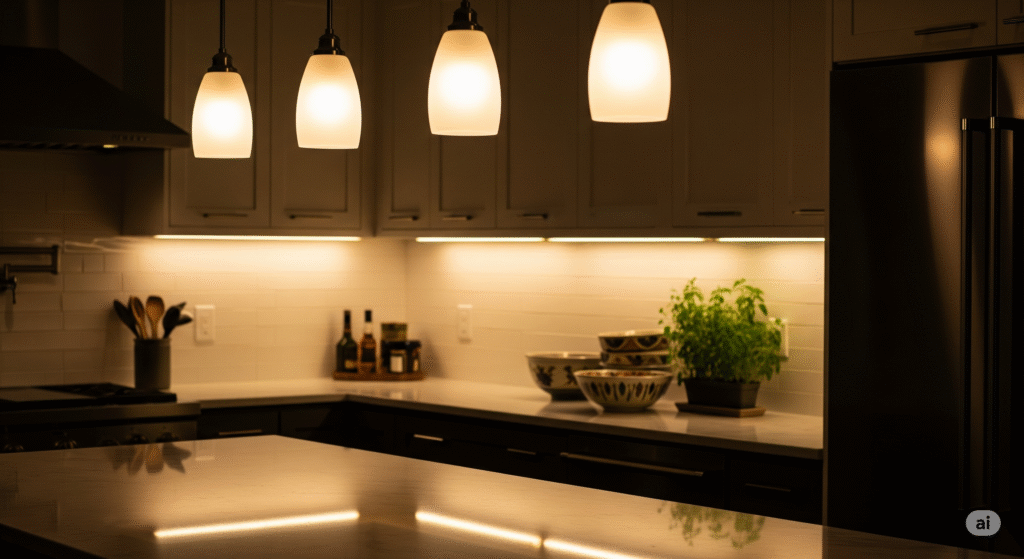
Why it works: Lighting changes mood, visibility, and style. Swap old fixtures for pendants or add under-cabinet lights.
Time: 1–4 hours per fixture (DIY) or a day with an electrician for new circuits.
Cost: Low–medium — \$20 for under-cabinet LED strips to \$200+ for designer pendants.
How to do it:
- Add under-cabinet LED strips for task lighting.
- Replace an outdated ceiling fixture with a statement pendant over the island or dining nook.
- Add dimmers to control ambiance.
Tips: Aim for layered lighting — ambient (overhead), task (under-cabinet), and accent (pendants). If unsure about wiring, hire a certified electrician.
External resource: ENERGY STAR tips for kitchen lighting and energy-efficient bulbs — https://www.energystar.gov.
4. Replace or refresh the backsplash
Why it works: Backsplashes are a visual focal point and protect walls. Changing material or color updates the whole kitchen instantly.
Time: 1–3 days (DIY tile), or hours for peel-and-stick options.
Cost: Low–medium — peel-and-stick \$20–\$100; tile \$200–\$800 depending on material.
How to do it:
- For quick change: use peel-and-stick backsplash tiles (vinyl or thin adhesive tiles).
- For durability and value: classic subway tile or mosaic tile. Hire pros for full tile installations if needed.
Tips: Keep grout color in mind — white grout looks crisp but shows stains; darker grout hides wear.
External resource: HGTV backsplash ideas and buying tips — https://www.hgtv.com/design/rooms/kitchens.
5. Improve countertops (cheap & smart options)
Why it works: Countertops are heavily used and highly visible. You can refresh them without replacing the slab.
Time: A weekend for resurfacing kits; 1–3 days for new countertops installed.
Cost: Low–high — laminate resurfacing kits \$50–\$200; new laminate \$200–\$800; quartz/granite several hundred to thousands.
How to do it:
- For budget: use countertop refinishing kits to paint/epoxy existing counters.
- For mid-tier: install a butcher block or laminate replacement.
- For long-term: replace with engineered stone or granite.
Tips: Butcher block gives warmth—seal it with mineral oil. Epoxy kits require careful prep; they can mimic stone at a lower cost.
External resource: Better Homes & Gardens guide to countertop materials — https://www.bhg.com/kitchen/countertops.
6. Add open shelving or floating shelves
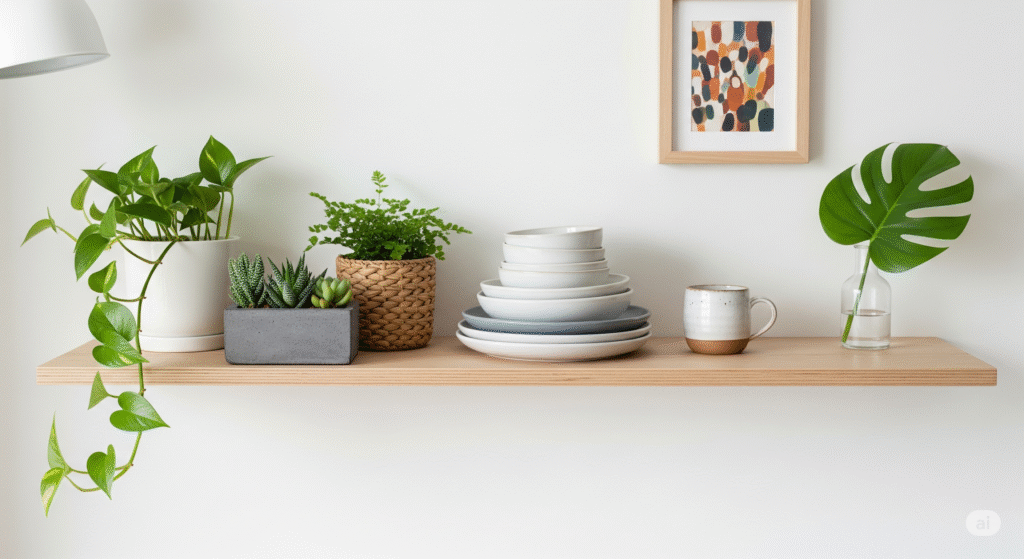
Why it works: Open shelves lighten the room and create a space to display dishes or decor without replacing cabinets.
Time: 1–3 hours per shelf (DIY).
Cost: Low — \$10–\$80 per shelf depending on material.
How to do it:
- Choose sturdy brackets or hidden-mount floating systems.
- Use shelves to display frequently used items or decorative pieces—don’t overcrowd.
Tips: Group items in odd numbers and mix functional items (mugs, glassware) with a couple of decorative accents.
7. Upgrade sink & faucet (small change, big impact)
Why it works: A modern faucet or a deeper sink improves both aesthetics and daily use.
Time: 1–3 hours for faucet swap; several hours for sink replacement (may need plumber).
Cost: Low–medium — faucets \$50–\$400; sinks \$100–\$600.
How to do it:
- Choose a high-arc pull-down faucet for versatility.
- Consider a deeper single-basin sink for large pots.
- If plumbing changes are complex, hire a plumber.
Tips: Pick finishes that coordinate with cabinet hardware and lighting. A touchless faucet adds convenience.
7 Ways to Properly Design a Modern Medical Office Interior
8. Declutter, reorganize & add smart storage
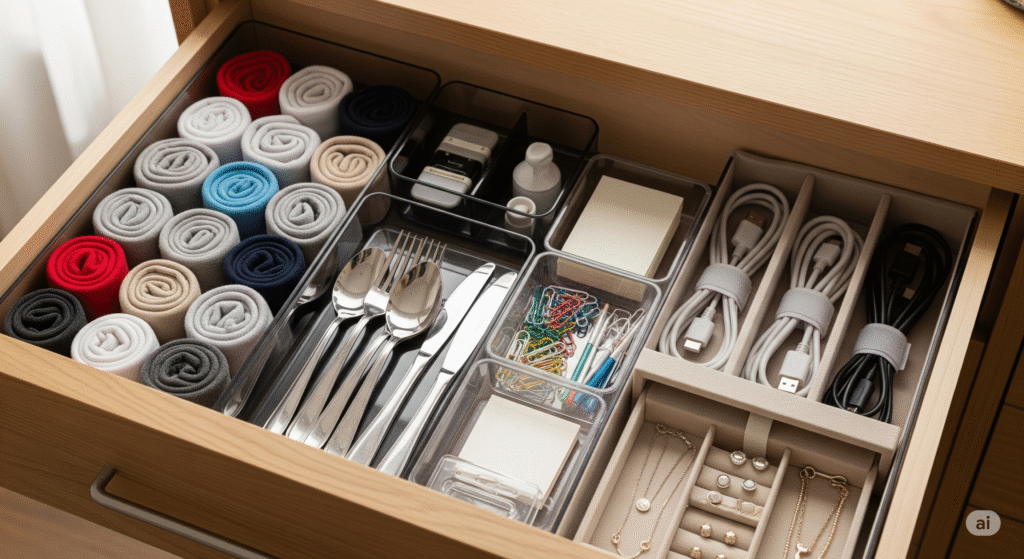
Why it works: Sometimes the best update is better organization. New storage solutions make your kitchen feel larger and more functional.
Time: 1–2 weekends.
Cost: Low — drawer organizers \$10–\$50; pull-out shelves \$30–\$150.
How to do it:
- Install drawer dividers, pull-out pantry shelves, and lazy Susans.
- Use vertical storage for baking sheets and cutting boards.
- Declutter: donate or store seldom-used gadgets.
Tips: Label containers and group items by use (baking, daily prep, snacks). Clear containers show contents at a glance.
How to choose what to do first
- If budget is tiny: Start with hardware, a new faucet, and decluttering. Big visual change for low cost.
- If you want the biggest “wow”: Paint cabinets (or the island) and change lighting/backsplash.
- If selling soon: Focus on neutral, durable upgrades like new hardware, lighting, and refreshed countertops or backsplash.
Budget-friendly weekend plan (example)
- Saturday morning: Remove hardware, clean, paint cabinet doors (island only if short on time).
- Saturday afternoon: Install new hardware and swap faucet.
- Sunday: Install under-cabinet lighting, add shelf styling, and reorganize drawers.
FAQs
Q: How much will these updates increase my home’s value?
A: Small updates boost appeal and perceived value but rarely recoup full cost like a full renovation. Focus on neutral, high-impact items (lighting, cabinet paint, countertops) to improve buyer interest.
Q: Can I do these updates without tools or experience?
A: Many (hardware, peel-and-stick backsplash, under-cabinet LEDs) are beginner-friendly. For electrical or plumbing changes beyond swapping a faucet or fixture, consider hiring a licensed pro.
Q: Which update gives the best ROI (return on investment)?
A: Typically, painting cabinets (done well), modern lighting, and mid-range countertop improvements have strong ROI. ROI varies by market—consult local real estate trends for specifics.
Q: Are peel-and-stick backsplashes durable?
A: Good quality peel-and-stick tiles are great for low-moisture areas and temporary updates. For wet zones and long-lasting value, consider tile with grout or solid surface materials.
Q: How do I maintain painted cabinets?
A: Use mild soap and water; avoid abrasive cleaners. For chips, keep touch-up paint on hand for small fixes.
Trusted external resources (for further reading)
- This Old House — Cabinet painting & refinishing guides: https://www.thisoldhouse.com/painting
- HGTV — Backsplash inspiration & installation: https://www.hgtv.com/design/rooms/kitchens
- Better Homes & Gardens — Countertop materials guide: https://www.bhg.com/kitchen/countertops
- ENERGY STAR — Lighting tips and energy-efficient options: https://www.energystar.gov
- Home Depot — How to replace a kitchen faucet: https://www.homedepot.com/c/ah/how-to-replace-kitchen-faucet
Final checklist before you start
- Measure twice: doors, hardware hole spacing, countertop corners.
- Pick finishes that coordinate (hardware, faucet, lighting).
- Consider timing: painting cabinets takes drying time; do it when you can go without a full kitchen for a day or two.
- Safety first: for electrical or plumbing, get a licensed pro if you’re unsure.