Give Your Old Furniture a Fresh Look: Easy DIY Ideas for a Stunning Makeover
Do you have old furniture collecting dust?
Scratched tables, outdated dressers, or boring bookshelves?
Instead of throwing them out, give them a fresh new look!
You don’t need to be a pro or spend a lot of money. With a little creativity and some basic supplies, you can breathe new life into your old pieces and completely transform your space.
In this guide, you’ll discover simple, beginner-friendly ways to upcycle, paint, and style your old furniture—turning “blah” into beautiful.
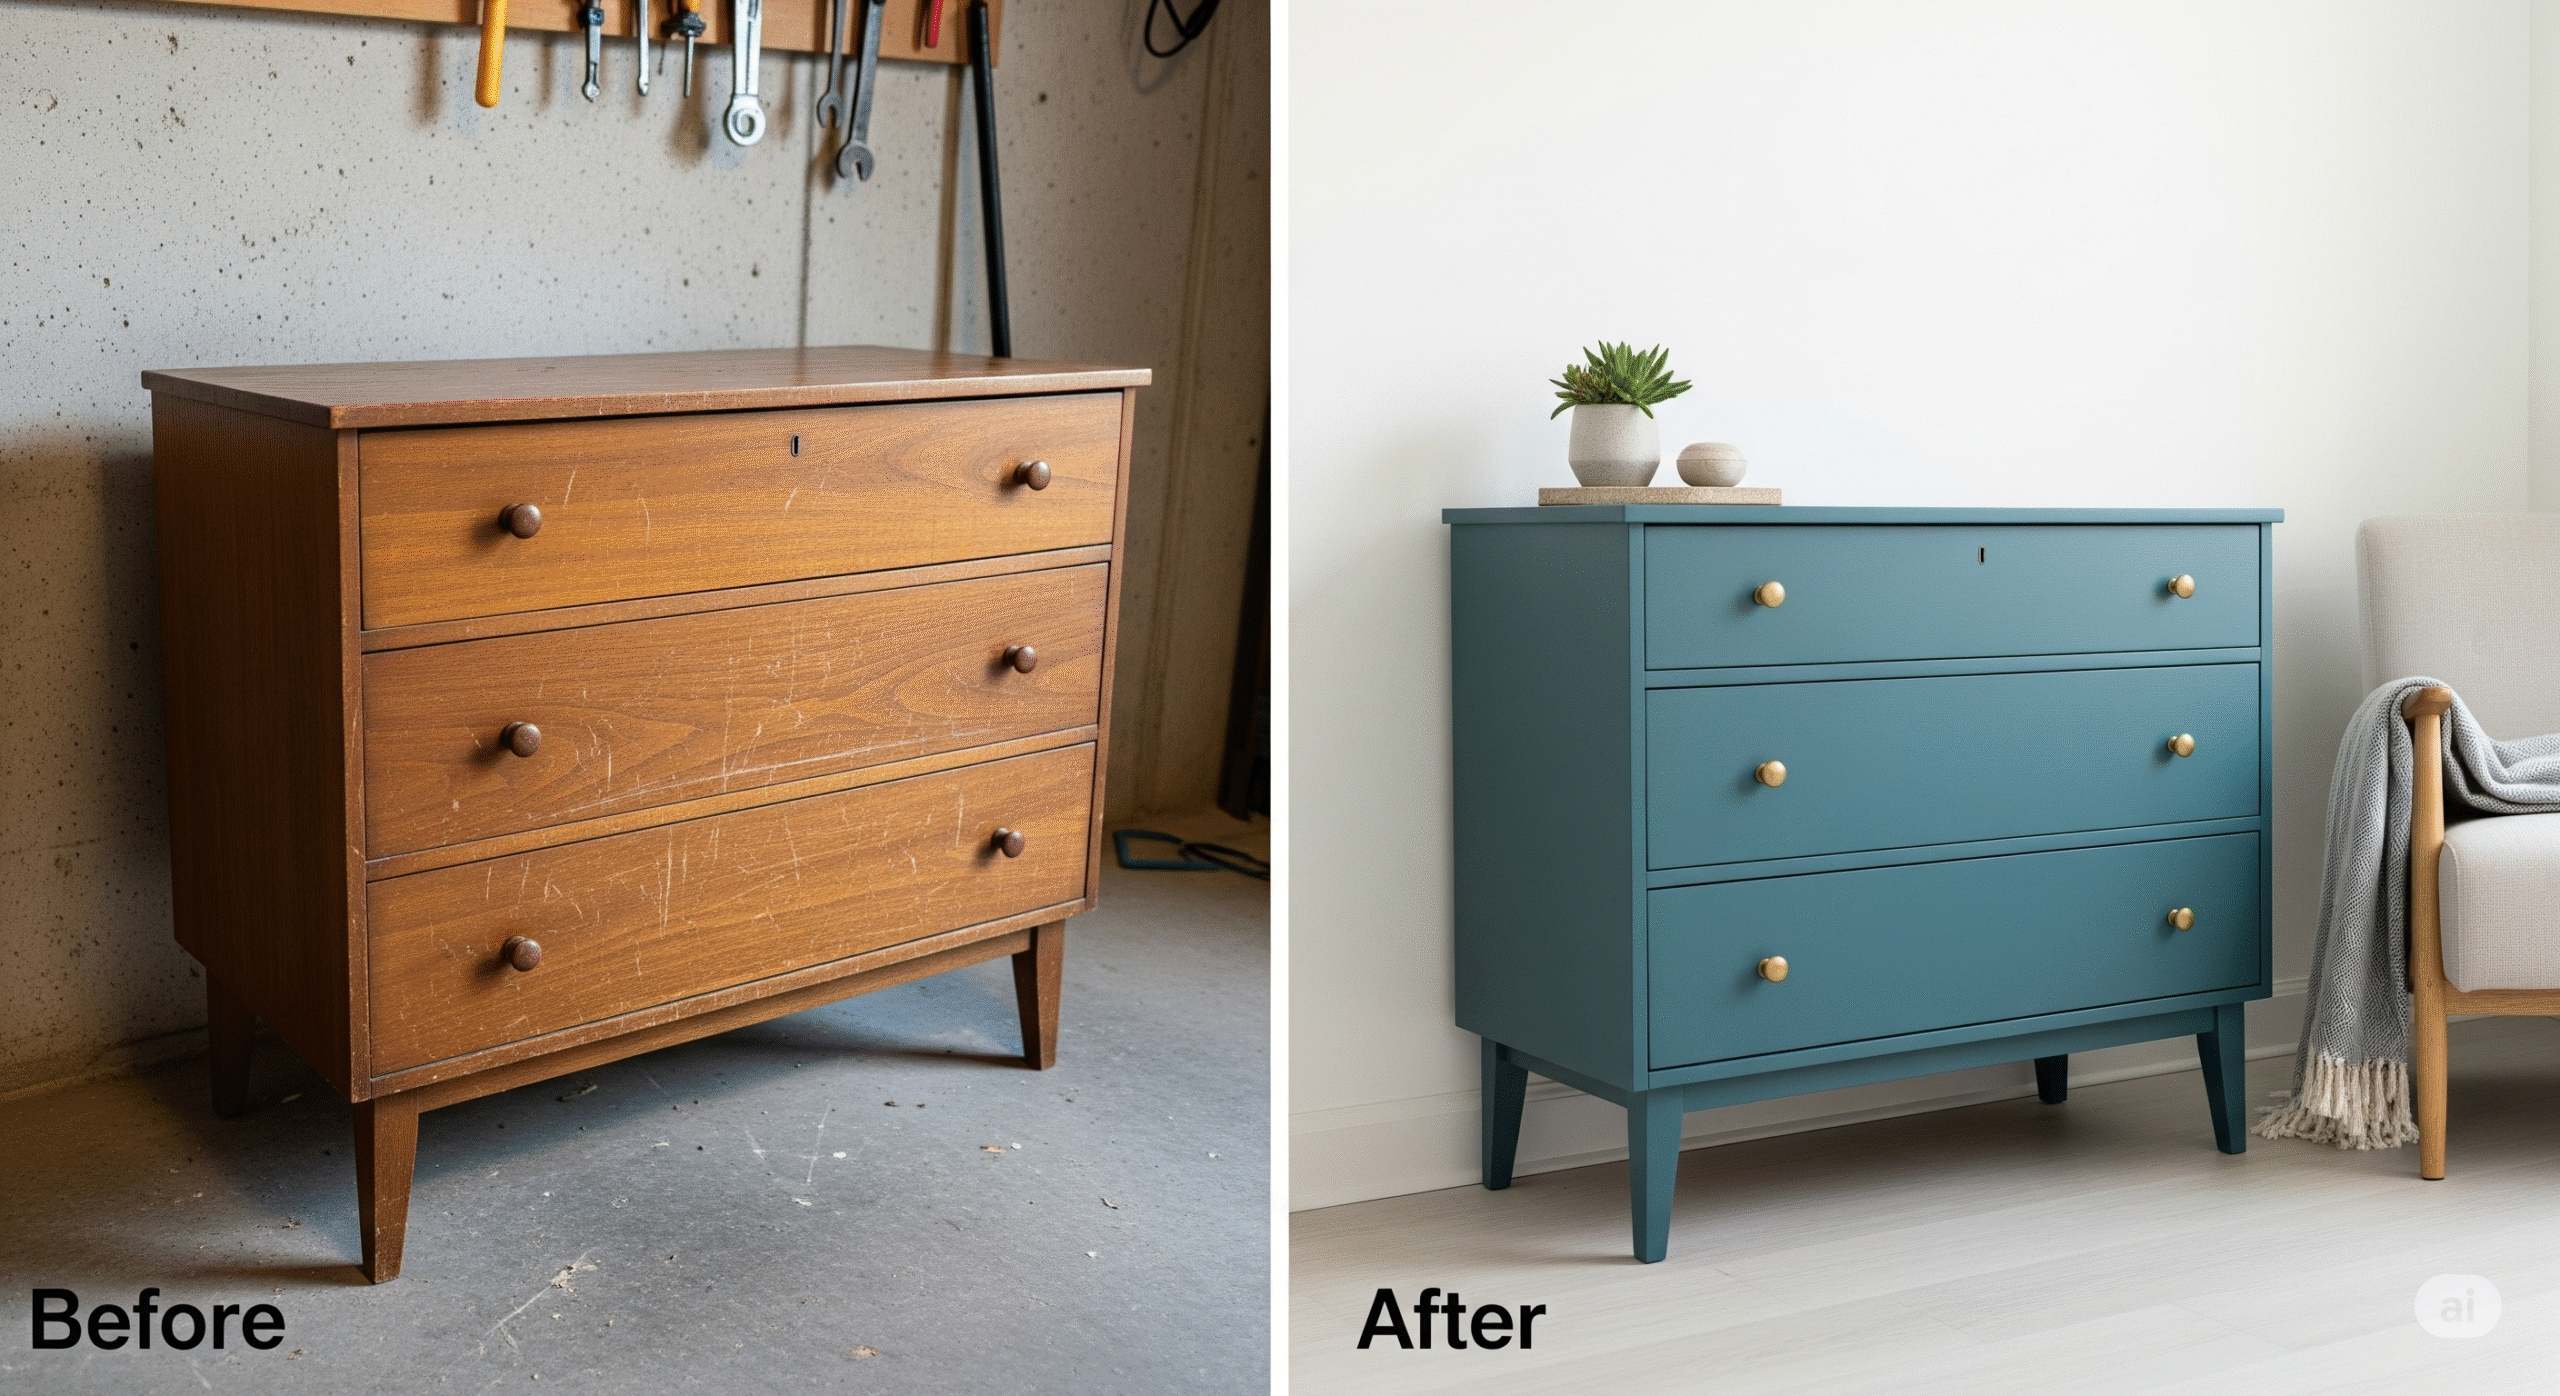
🎨 1. Paint It Up: The Classic Furniture Refresh

Paint is the easiest way to update almost any piece of furniture—tables, dressers, chairs, nightstands, and even headboards.
Steps:
- Lightly sand the surface (optional but helps paint stick better).
- Wipe clean with a damp cloth.
- Apply primer if your paint needs it.
- Paint using a foam roller or brush (try chalk paint for a matte, no-sand finish).
- Add a clear top coat for protection.
🎯 Color tip:
Soft greys, white, navy, or sage green are timeless and work in almost any room.
2. Replace or Paint Hardware
Sometimes, it’s not the furniture—it’s the knobs!
Try replacing old drawer handles or knobs with:
- Brushed gold
- Matte black
- Glass/crystal
- Leather pulls
You can also spray paint your existing hardware to save money and match your new style.
3. Reupholster or Add New Fabric
Chairs, benches, and stools can get a dramatic makeover with new fabric.
Tools you may need:
- Staple gun
- Scissors
- Foam or padding
- Upholstery fabric (or even a shower curtain!)
Simply remove the old fabric, add padding if needed, stretch your new fabric, and staple it into place.
It’s a small change that makes a huge difference!
✂️ 4. Use Peel-and-Stick Wallpaper or Contact Paper
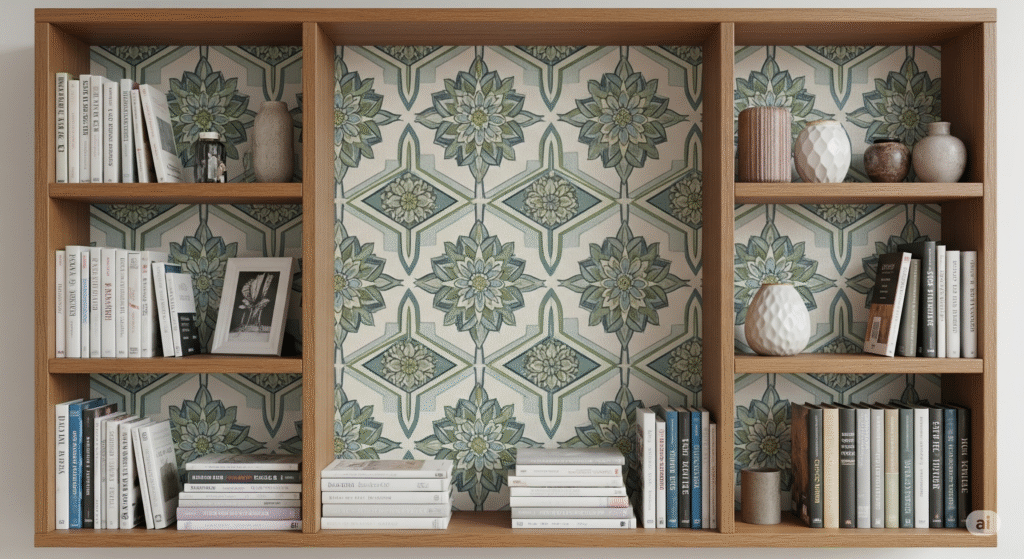
Want a fun pop of pattern without the mess?
Use peel-and-stick wallpaper or contact paper on:
- Bookshelf back panels
- Drawer fronts
- Desk tops
- Coffee tables
You can find designs like:
- Marble
- Wood grain
- Floral
- Geometric
It’s renter-friendly, removable, and an easy weekend project.
5. Distress for a Rustic or Farmhouse Feel
If you love the shabby-chic or farmhouse style, distressing furniture is for you.
How to do it:
- Lightly sand corners, edges, and surfaces after painting
- Focus on “natural wear spots” like handles or corners
- Use a darker base coat for contrast underneath
This adds character and a cozy, lived-in feel.
Easy Wall Art: 10 Budget DIY Ideas to Decorate
🌿 6. Add Decorative Moulding or Trim
For a more advanced project, add wooden trim or moulding to plain surfaces.
You can:
- Frame drawer fronts
- Create raised panel effects
- Add faux Shaker-style detail
Use wood glue or a nail gun, then paint over everything for a seamless custom look.
💡 7. Repurpose Furniture for New Use
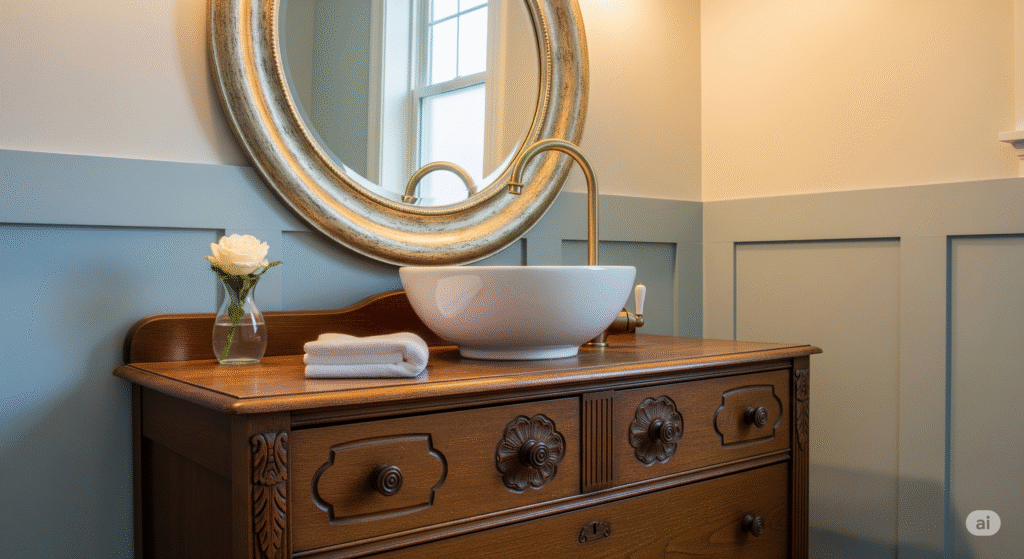
Sometimes a piece just needs a new role.
Ideas:
- Turn a dresser into a TV stand
- Use a crib rail as a towel holder
- Convert an old door into a desk
- Make a side table from stacked suitcases
Think outside the box—you might be surprised what works!
8. Style It Like a Pro
Once your makeover is done, don’t forget the finishing touches.
Add:
- Plants or vases
- Books or baskets
- Candles or lamps
- Mirrors or wall art above
📌 Pro styling tip:
Use the rule of threes—group 3 items of varying height and shape for a designer look.
📚 Trusted External Resources for DIY Furniture Ideas
- HGTV DIY Furniture Makeovers
- The Spruce – Furniture Painting Tips
- Bob Vila – Easy Furniture Upcycles
- Apartment Therapy DIY Decor
❓FAQs: Giving Old Furniture a New Look
❓Do I need to sand furniture before painting?
Sanding helps the paint stick better, especially on glossy surfaces. But if you use chalk paint or primer, you may not need to sand.
❓What kind of paint is best for furniture?
Chalk paint is great for beginners. For durability, use latex or enamel paint with a topcoat. Spray paint works well for small items like chairs or stools.
❓Where can I buy cheap old furniture to refurbish?
Try:
- Facebook Marketplace
- Craigslist
- Thrift stores
- Garage sales
- Your own garage!
❓How do I know if a piece is worth upcycling?
Check if it’s sturdy, has a good frame, and no major water or mold damage. Even if it looks outdated, paint and new hardware can do wonders.
❓Can I flip furniture for profit?
Absolutely. Many DIYers turn old furniture into sellable, high-demand pieces. Start small, learn the basics, and you could turn a hobby into income.
🏡 Final Thoughts: A New Life for Old Favorites
Giving old furniture a makeover isn’t just eco-friendly—it’s creative, satisfying, and budget-friendly.
Whether you paint, reupholster, or repurpose, each project lets you tell a story—your story.
So, grab your brush or staple gun, put on some music, and start your first (or next!) furniture refresh project today.
You might be surprised at what you can create with your own two hands.